photoetching


i finally ordered some photoetching supplies and i’m looking forward to experimenting at Graphic Arts Workshop (GAW) the cooperative print shop where i can work. photoetching is different from photogravure in that it’s less three dimensional and often easier. It can be done in a number of ways, many not involving copper. but i love working with copper, it’s such a welcoming material. you can continue to work the copper after you’ve etch the image.

i’ve chosen to test three products that are sheets of photosensitive resist that you apply to the cooper: Z*Acryl, PurEtch, and ImageOn HD.

  • Z*Acryl can be found in a few places online, including their own website, which seems to have the best price.
  • PurEtch seems to be available from Cape Fear Press only (for US orders- there may be additional resources for international orders).
  • ImageOn is available at Takach Press, which also supplies Z*Acryl and many printmaking supplies.

The prices i paid varied widely between the products:
ImageOn HD: 12 x 15 = $29.00
Z*Acryl: 12 x 15 = $48.00
PurEtch: 24.75″ x 12” = $19.00

i think i’m rooting for PurEtch to be the best for my needs because it’s much more affordable!

they all have a similar process in that you adhere the photosensitive film to the copper, expose the film to UV light with a full-sized positive (the opposite of a negative) and then “develop” it by washing away the unexposed areas.

dark areas in the image are dark in the positive, blocking the UV light. dark areas are not exposed to the light. the light areas are exposed to the light. in the light areas the film reacts tot the light and hardens. when the film is “developed” the light areas remain and the dark areas wash away to expose the copper.

the remaining film then acts as a resist to the etchant (in this case Ferric Chloride, which is not exactly and acid but bites into the copper). where the film remains the etchant can’t reach the copper and the copperplate remains unetched there. meanwhile the dark areas are well etched. the etched areas are recesses which hold ink during the printing process.

after the plate is etched the printmaker removes the remaining film from the copper plate which is now smooth in the light areas and etched with recesses to hold ink in the dark areas. the printmaker can ink, wipe and print the copperplate as any intaglio plate.

Each product has its particular features and procedures. Z*Acryl is “developed in a very weak (1%) solution of soda ash and water. Z*Acryl is dry laminated onto the copperplate. its top layer remains in place during exposure. aquatint can be applied After Development & Before etching. Z*Acryl can be redeveloped & re-etched if it looks like areas have not etched. just rinse the plate well and re-submerge in developer. then re-etch. Z*Acryl claims it’s thick enough for variable depth like photogravure!
PurEtch recommends a fussy wet laminating with squeegee and a very clean surface. they are very specific about degreasing the plate first.

PurEtch can be developed in tray or with a sprayer (like silk screen but lower pressure, such as a garden hose). they recommend curing the plate with additional UV and then a brief re-dip into soda ash before etching.

ImageOn HD can be wet or dry laminated. the manufacturer claims it’s slower and that slower means the ability to depict higher resolution. The ImaegOn HD plate is exposed and developed similar to the others but instead of curing with more UV light they recommend “fixing” with white vinegar and wash with water. i’m a little annoyed with them right now because they seem to hold back info and push the book. also, they are not taking web orders, you have to call them.

printing at Graphic Arts Workshop


i’m now a full member at Graphic Arts Workshop! i get my keys on Sunday!!

Graphic Arts Workshop is a cooperative with approximately 40 members working in fine art printmaking. like City Arts  GAW is a non-profit, with no paid staff. we share and maintain the fully-equipped printmaking studio. they have several printing presses and tons of equipment.

i’ve met a few of the members so far. here’s Vanessa:

and Pete:

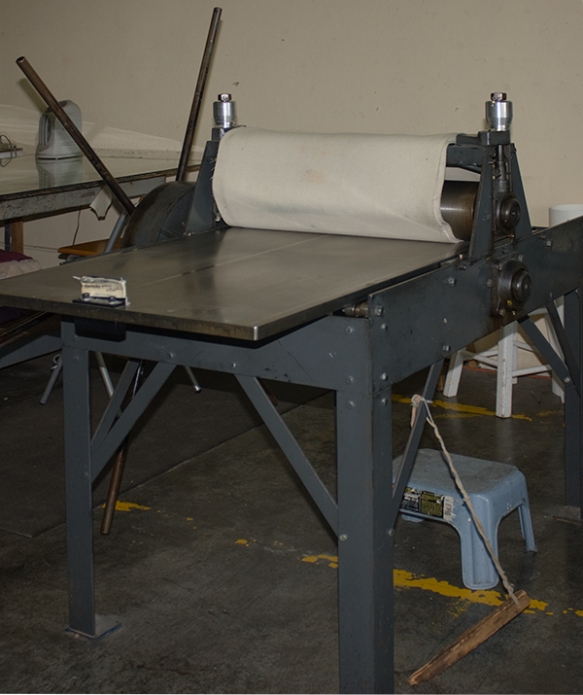
this is currently my favorite press. i love the pirate ship wheel.

printing press

my favorite printing press

lately i’ve been working on a couple of plates that have a photo image of some hooks hanging on a chain link fence. i made two plates out of the same image in class at Kala. Kazuko Watanabe taught me two methods of photoetching. in one we exposed a pate that had a photosensitive polymer to a positive of my image, the polymer reacted and hardened where it was exposed to light. after it’s washed and hardened the polymer has ridges and valleys like a copper plate. the second method she taught used a photosensitve ground which reacts to the light and later when you put it in the acid only the dark areas will be etched to create ridges and valleys etched into the copper like a normal copper plate.

in class at Crown Point Press i applied a soap ground to the copper plate and etched the plate some more. on my own at GAW i applied a surgar lift to the copper plate and etched it  yet again:

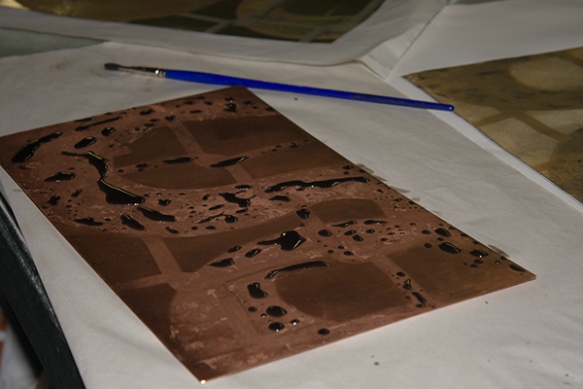
my copper plate with a sugar lift applied

my copper plate with a sugar lift applied

what you may be able to see in this shot is the lighter parts of the copper plate that have been etched, the darker copper which prints white (it’s the background) and the dark and shiny sugar solution on the plate. when this is dry i will coat the plate with a ground that resists the acid right over the sugar. when that dries i wash the plate in warm water and all the sugar will lift up, breaking through the ground creating unprotected areas where the acid can bite the copper.

this is the plate coated and drying:

copperplate drying

copperplate drying

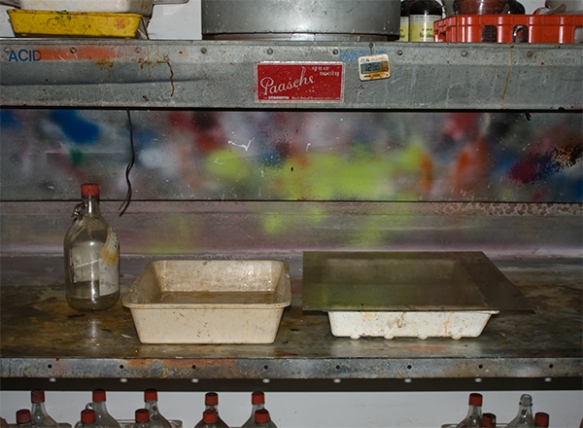
this is my acid set up.

acid bath

acid bath

i love this shot! it shows the 2 trays, one with acid and the other with water. it also shows all the acid stored under the counter, the big huge exhaust fan, and some cool random coloring on the back of the table.

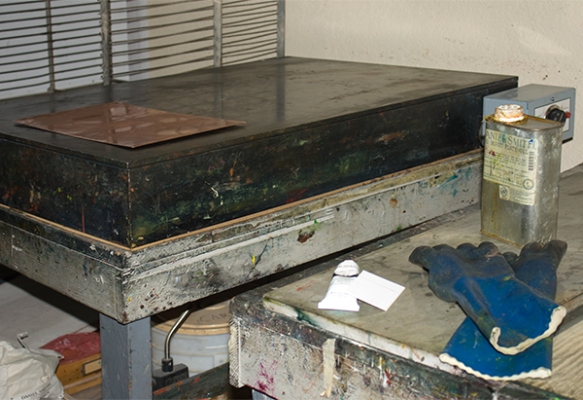
after the plate is etched, i clean it up and it;s time to ink it. i love the huge hotplate at GAW which is set up nice and high to make inking and wiping the plate a joy!

inking station

inking station with high hotplate at GAW

i have to set up the press, which includes getting the pressure of the rollers just right. thank goodness the press at GAW has a gauge with numbers so you can make both sites the same and keep track of what works best for a plate and paper combination.

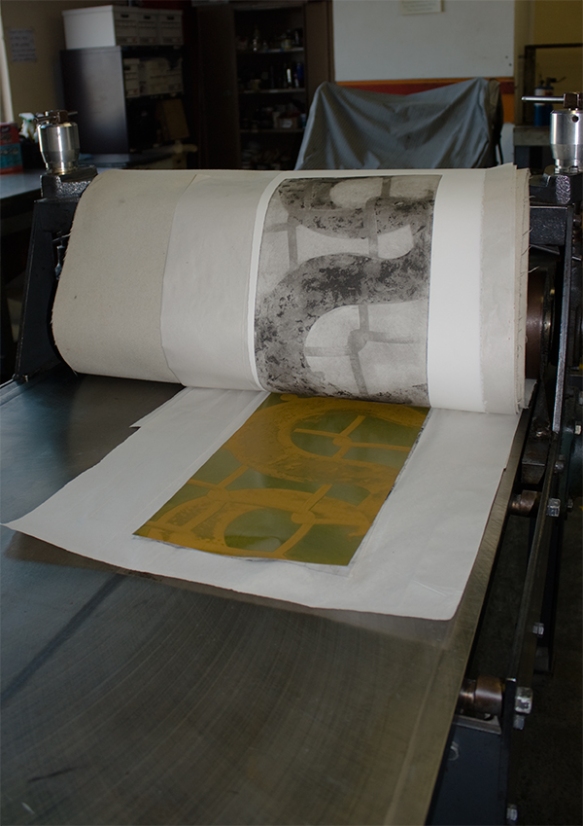
second printing with polymer plate

second printing with polymer plate

in this picture the image is on the white paper which is pulled up against the blanket which has been pulled up over the roller. you can see the black and white impression from the copper plate that i’ve already pressed. i left the paper trapped under the roller to hold it steady while o switch plates. i have a template on the bed of the press so i could put the second plate in the same place. the plate that’s there now is the polymer plate. i’ve inked it yellow so i can see how the two plates interact.

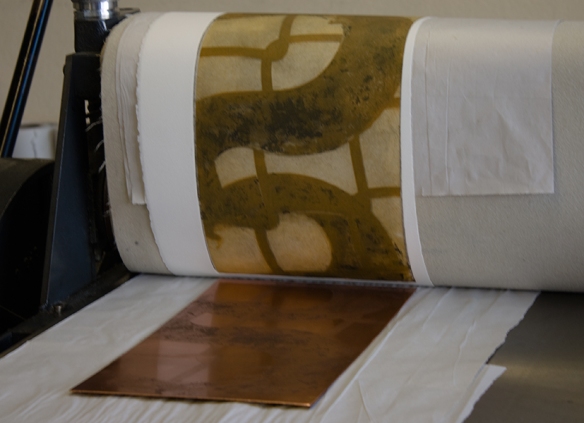
finally i wanted to transfer the ink onto the copper plate so i could decided what i wanted to do the the copperplate next.

transfering ink back to copperplate

transfering ink back to copperplate

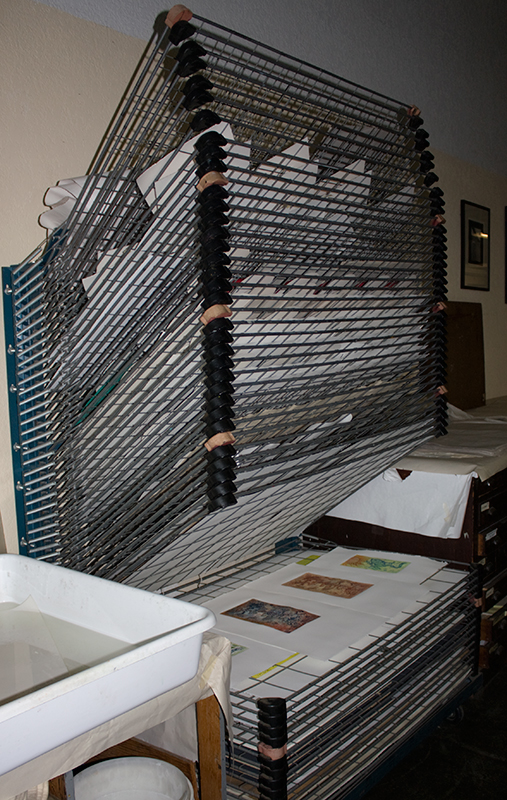
this is where we dry the prints in this enormous rack!

drying rack

drying rack at GAW


so i’m a happy artist at GAW!

new year brings some new projects


last year right about this time i took a class on printmaking. i learned how to make photogravure on polymer plates.  it was a complicated place to start but i had to know if my images would translate to printmaking before it would be worth learning the basics.I was very please with the results, considering it was a 4 day workshop. but i could tell that working with the polymer plates was not going to make me happy. so i starting classes in all sorts of printmaking and fell in love with copperplate. i’ve been madly taking courses and learning so much.

next weekend i have a workshop at Crown Point Press which is the creme de la creme in the bay area. they only give a short workshop in the winter and then a longer one in the summer. unlike Kala Institute where’s i’ve been taking alot of my classes, their mission is not so much to teach as it is to be the master printer for established artists.

but Crown Point Press doesn’t mind spreading the knowledge around. Their companion website Magical Secrets has tons of free content including how to demonstration videos, artists talking about their art and showing their process, videos about the creative process, a blog, and a store.

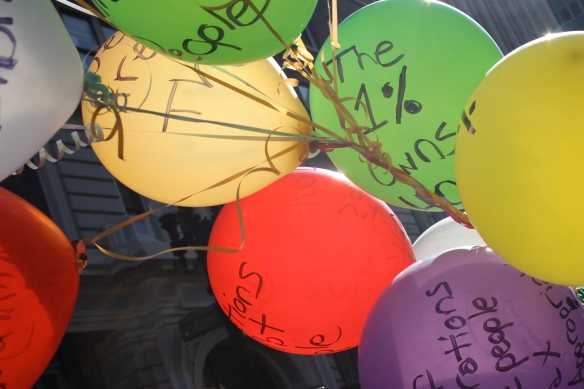
Corporations Are Not People

Corporations Are Not People

at their main site they also have a more text driven knowledge base about printmaking which has a great graphic showing the main different printmaking techniques, and an excellent explanation of Photogravure. unfortunately i have to wait til the summer workshop to try their approach to photogravure.

In the winter workshop i hope to learn their approach to alot of techniques i’ve learned from other artists at Mission Cultural Center and Kala Institute. basics like inking and wiping your plates can radically alter your results in printmaking. they also have incredible facilities for aquatint, spit bite and sugar lifts etc.

i hope to work with some of my more graphical images from the Strike at Occupy Oakland.

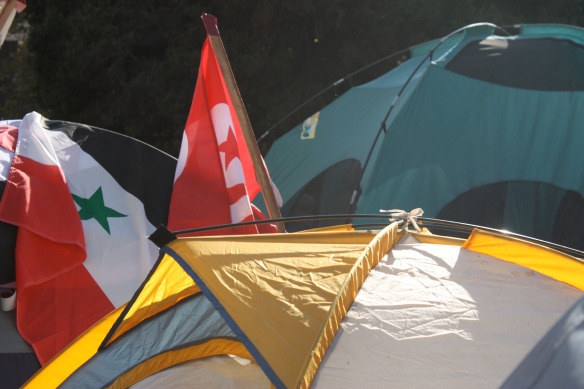
occupy oakland residences

Occupy Oakland General Strike: residential tents