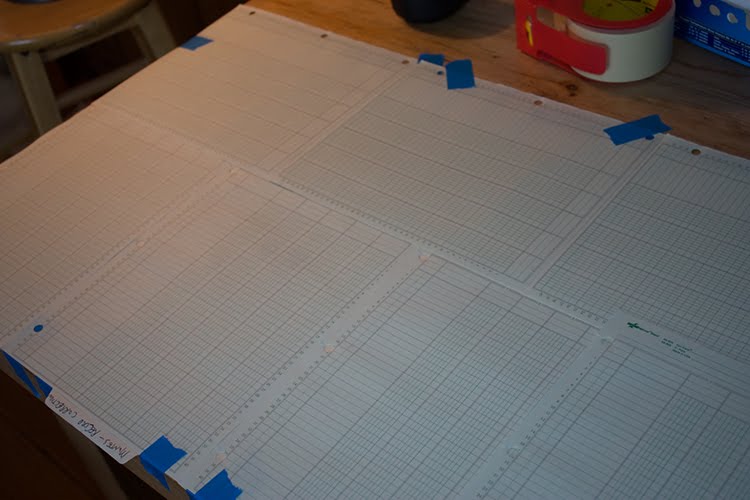
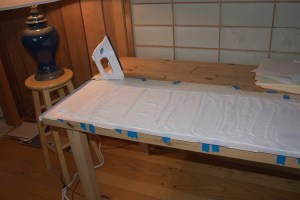
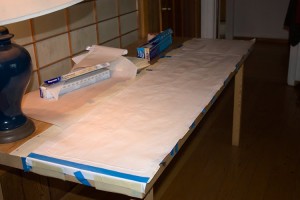
Here’s a photo of the way i set up my work table:

it shows how i put down some cardboard cuz the table is rough and then i layer graph paper so i can have straight lines for reference. the first thing to do is to wash the silk. i purchased some
professional but environmentally friendly soap from
Dharma Trading when i purchased the silk. then it really should be fully pressed before you begin attaching it to the backing (i skipped this and paid in the end!). You should do this on a hard surface which can handle the heat.
here’s a photo of my favorite papers to do this with:

The parchment paper is to use on top so your iron doesn’t mess up the silk and the freezer paper doesn’t mess up your iron. You can use what you like for this, but be warned that regular wax paper will melt and ruin your silk. i like so see thru to the silk so i don’t use a cloth for this. The freezer paper is the star of the show for me. I know of no other brand or sizes available. around here only the Safeway seems to carry it.
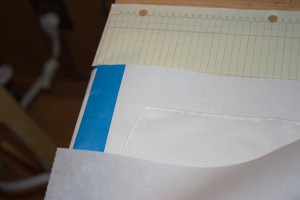
in this next photo i’m using the closest thing i had to a “T” square to insure that i am laying out the freezer paper very straight.

if the paper is at all not perfectly straight the printer will go crazy.
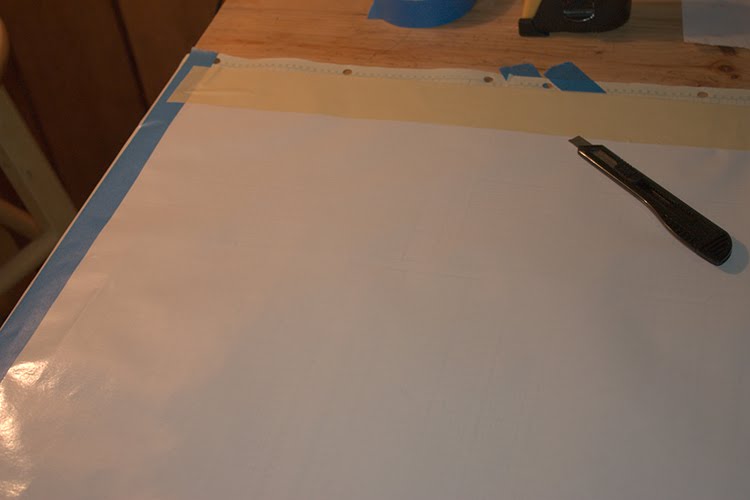
In this next image i am using the wide masking taper to measure out the amount i have to cut off the width of the paper so that it will fit on my 17 inch printer. darn paper is 18 inches wide.

in this photo i’ve laid out the silk.
i wonder why i stopped to take this photo? i probably knew darn well i should have pressed this silk before i laid it down on the freezer paper. the day before i’d washed and pressed it and then folded it up in a hurry to do something else.
these next 2 shots show the whole sandwich. the shiny freezer paper, the silk scarf with it’s tiny hem, and the parchment paper on top. see how you can see through the parchment to the silk?
these show how you can even see the edge of the freezer paper through the parchment paper as you press the silk to the freezer paper. What’s going on here? the coating on the freezer paper is some kind of silicon or plastic. when i set the iron all the way up the coating gently melts and holds onto the silk.


You can also see the blue artists’ tape that i made meticulously straight and at right angle to the uncut edge of the freezer paper. this is what makes the whole thing work for me when i insert it into my printer. the edge is slightly heavier than to too light freezer paper and it lets the printer know exactly where the front edge is. the printer can become confused if it sense the edge of the paper and the edge of the silk.
Please note that i should have looked at my old notes at this point. the way my printer works in the banner setting is it creates an extra leading edge. it rolls the paper 7 3/4 of an inch too far before it starts printing. this is easy to fix when you anticipate it. simply use a larger piece of freezer paper than you need and back the silk up so that it starts 7 3/4 inch (or what ever distance your printer adds) from the front edge of your carrier paper.
Although everything looks smooth a beautiful in these close ups it is not! check out the bumps i left in it! DO NOT DO THIS.
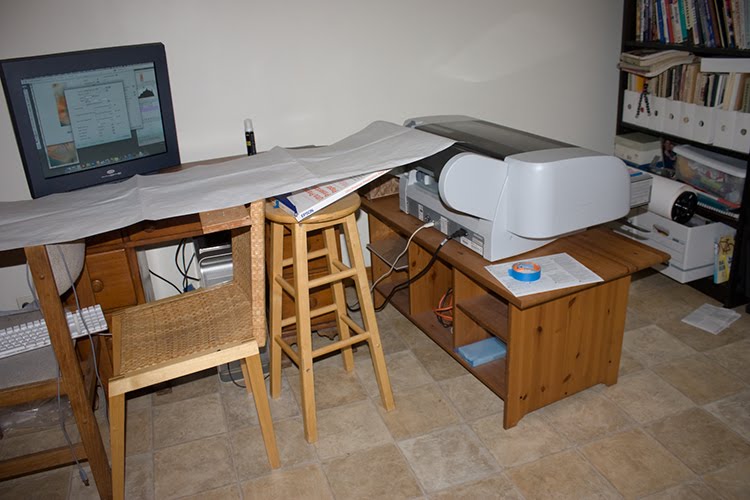
Here is the chute i build with chairs and boards and things i found around the house. i laid an old piece of freezer paper down over the whole thing to make a nice smooth slide. The paper goes over the cover for the roll paper which has been removed and down into the roll paper feed.

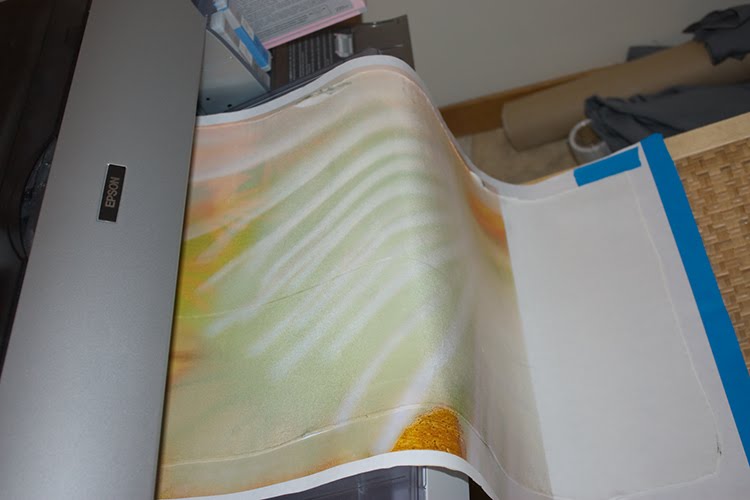
and the printing has begun! you can see the lively colors, the 7 3/4 inch gap (arrggg) and the beginnings of trouble in the form of black smudges on the edges.

Here’s the printer hard at work. i watch for trouble through the smoky lid showing the print head laying down the ink.
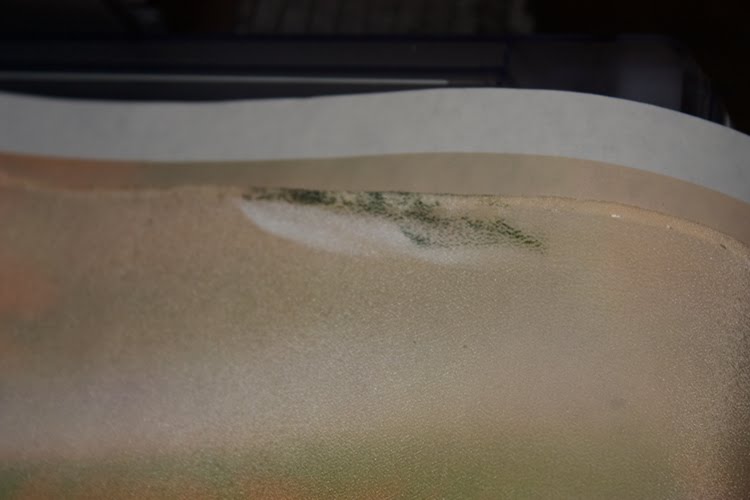
the trouble did not get out of hand completely, where the silk lifts completely off the carrier paper, but here’s two close ups of how a small weakness grows:


go ahead i know you want to Share: